BOP Challenge 2020 Data Generation

Here you find the official BlenderProc implementations that we used to generate the provided synthetic data for the BOP Challenge (7 core datasets). The output datasets are saved in BOP Format in chunks of 1000 images.
The prerendered datasets with 50K images each are available here, where they are called “PBR-BlenderProc4BOP training images”.
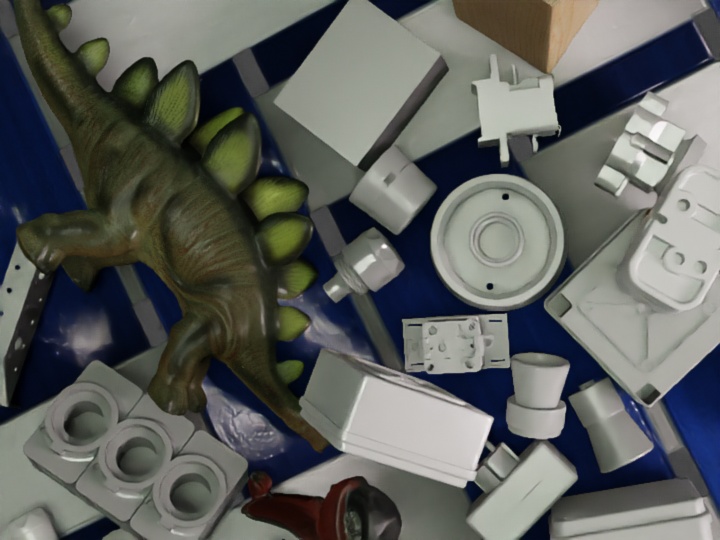
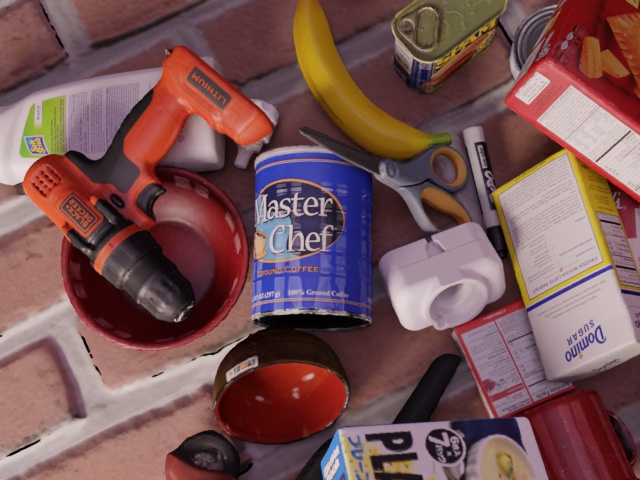
For LineMOD, the objects are placed upright on a plane based on the bop_object_on_surface_sampling example. All other datasets are created by dropping objects using physics based on the bop_object_physics_positioning example.
Instructions to generate the data
Here, we explain the usage with the new python format introduced in BlenderProc2, for the original config files, check below.
Download the necessary BOP datasets. Base archives and 3D models are sufficient.
Execute in the BlenderProc main directory:
blenderproc download cc_textures
The following command creates 50K training images in BOP format for the given dataset
blenderpoc run examples/datasets/bop_challenge/main_<bop_dataset_name>_<random/upright>.py
               <path_to_bop_data>
               resources/cctextures
               examples/datasets/bop_challenge/output
               --num_scenes=2000
examples/datasets/bop_challenge/main_<bop_dataset_name>_<random/upright>.py: path to the python file.<path_to_bop_data>: path to a folder containing BOP datasets.resources/cctextures: path to CCTextures folderexamples/datasets/bop_challenge/output: path to an output folder where the bop_data will be saved--num_scenes: How many scenes with 25 images each to generate
Tip: If you have access to multiple GPUs, you can speedup the process by dividing the 2000 scenes into multiples of 40 scenes (40 scenes * 25 images make up one chunk of 1000 images). Therefore run the script in parallel with different output folders. At the end, rename and merge the scenes in a joint folder. For example, if you have 10 GPUs, set --num_scenes=200 and run the script 10 times with different output folders.
Complete the BlenderProc4BOP datasets
To save some time and not copy functionality we use the bop_toolkit to generate the masks, scene_gt_info and scene_gt_coco
To install the bop_toolkit run
git clone https://github.com/thodan/bop_toolkit
cd bop_toolkit
pip install -r requirements.txt -e .
Then at the top of the scripts mentioned above set the following parameters (keep other parameters unchanged):
p = {
  # See dataset_params.py for options.
  'dataset': '<bop_dataset_name>',

  # Dataset split. Options: 'train', 'val', 'test'.
  'dataset_split': 'train',

  # Dataset split type. None = default. See dataset_params.py for options.
  'dataset_split_type': 'pbr',

  # Folder containing the BOP datasets.
  'datasets_path': '<path/to/your/bop/datasets>',
}
To complete your BOP datasets, finally run:
python scripts/calc_gt_masks.py
python scripts/calc_gt_info.py
python scripts/calc_gt_coco.py
Original Config file usage
Instead of running the python script once, we ran every config file 2000 times with 25 random cameras per scene. This has the disadvantage that objects need to be loaded at each run.
Download the necessary BOP datasets and the bop-toolkit.
Execute in the BlenderProc main directory:
blenderproc download cc_textures
blenderpoc run examples/datasets/bop_challenge/<main_dataset.py>
              <path_to_bop_data>
              <bop_dataset_name>
              <path_to_bop_toolkit>
              resources/cctextures
              examples/datasets/bop_challenge/output
examples/datasets/bop_challenge/<main_dataset.py>: path to the python script file.<path_to_bop_data>: path to a folder containing BOP datasets.<bop_dataset_name>: name of BOP dataset.<path_to_bop_toolkit>: path to a bop_toolkit folder.resources/cctextures: path to CCTextures folderexamples/datasets/bop_challenge/output: path to an output folder where the bop_data will be saved
This creates 25 images of a single scene. To create a whole dataset, simply run the command multiple times.