BlenderKit

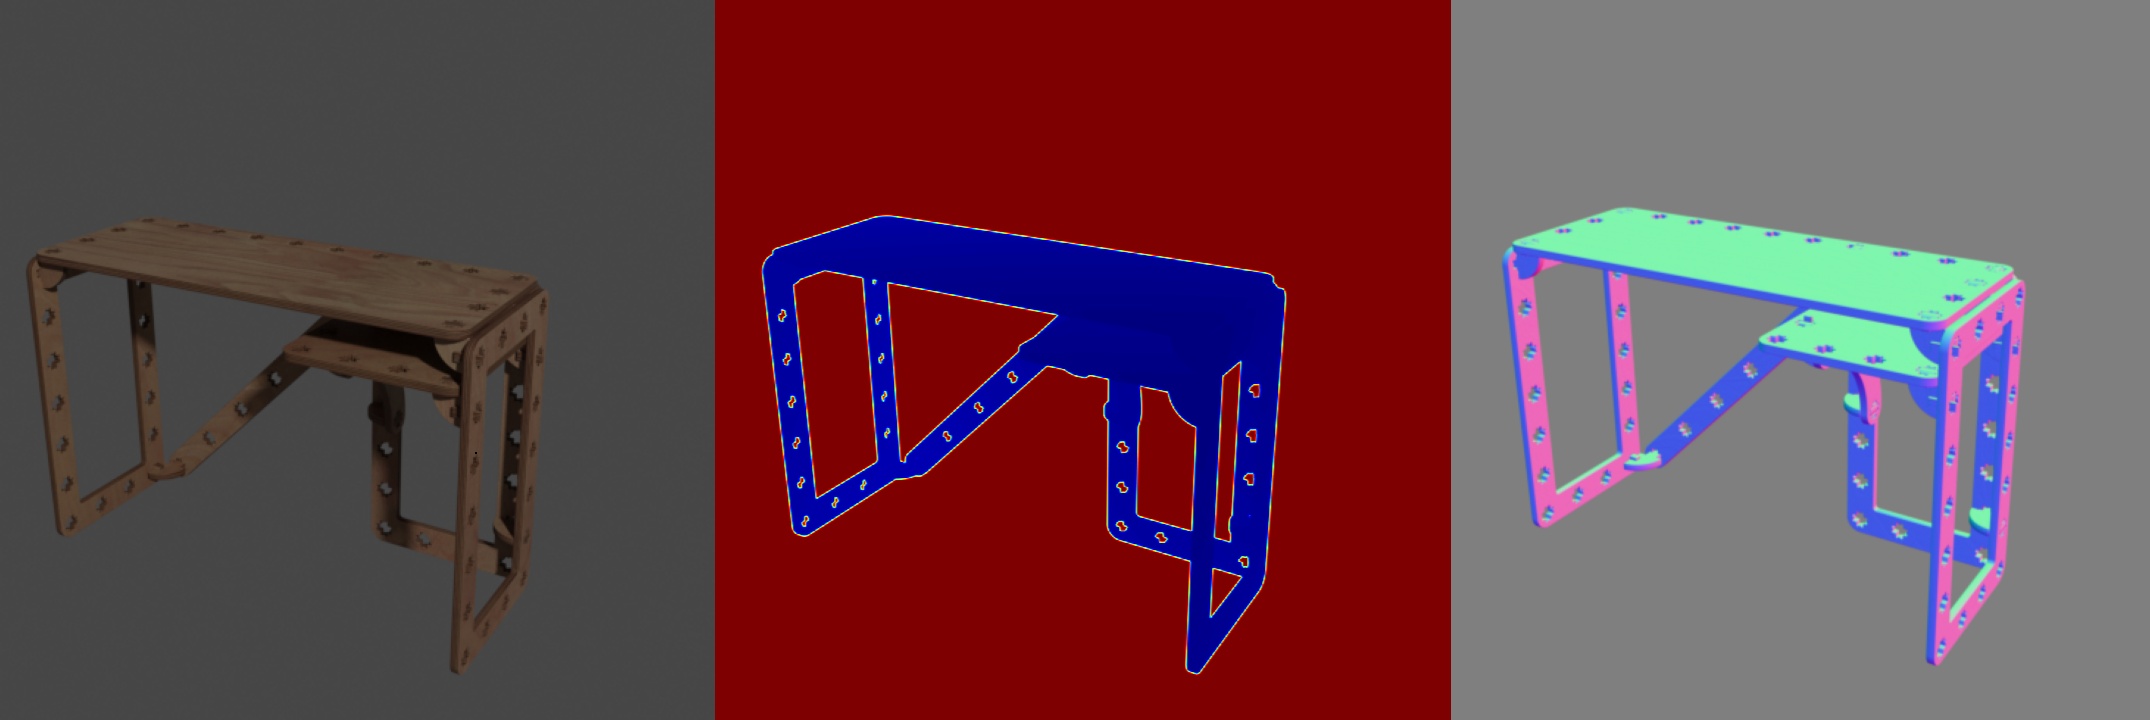
The example demonstrates using loader.BlendLoader to load the .blend files downloaded from BlenderKit.
A script to download the .blend files is provided in the scripts folder.
Usage
Execute in the BlenderProc main directory:
blenderproc run examples/datasets/blenderkit/main.py <PATH_TO_.BLEND_FILE> examples/datasets/blenderkit/output
examples/datasets/blenderkit/main.py: path to the python file with pipeline configuration.<PATH_TO_.BLEND_FILE>: path to the downloaded .blend file, see the scripts folder for the download script.examples/datasets/blenderkit/output: path to the output directory.
Visualization
In the output folder you will find a series of .hdf5 containers. These can be visualized with the script:
blenderproc vis hdf5 examples/datasets/blenderkit/output/*.hdf5
Steps
The BlendLoader loads assets from blend file specified in the main.py file.
Define a light and set its location and energy level.
Find point of interest, all cam poses should look towards it:
bproc.object.compute_poi().Sample random camera location around the objects:
bproc.sampler.sphere().Adds camera pose to the scene:
bproc.camera.add_camera_pose().Enables normals and depth (rgb is enabled by default):
bproc.renderer.enable_normals_output()bproc.renderer.enable_depth_output().Renders all set camera poses:
bproc.renderer.render().Writes the output to .hdf5 containers:
bproc.writer.write_hdf5()
Python file (main.py)
BlendLoader
objs = bproc.loader.load_blend(path)
This loads a BLEND file resource and needs the relative path of the .blend file model you want to load, which should be specified under path attribute in the loader section above.
Per default this will load all mesh objects from the given .blend file. By using the parameters obj_types and datablocks, also other data and object types can be loaded.
CameraSampler
# Find point of interest, all cam poses should look towards it
poi = bproc.object.compute_poi(bproc.filter.all_with_type(objs, bproc.types.MeshObject))

# Sample five camera poses
for i in range(5):
    # Sample random camera location around the objects
    location = bproc.sampler.part_sphere([0, 0, 0], radius=2.5, part_sphere_dir_vector=[1, 0, 0], mode="SURFACE")
    # Compute rotation based on vector going from location towards poi
    rotation_matrix = bproc.camera.rotation_from_forward_vec(poi - location)
    # Add homog cam pose based on location an rotation
    cam2world_matrix = bproc.math.build_transformation_mat(location, rotation_matrix)
    bproc.camera.add_camera_pose(cam2world_matrix
For sampling camera poses we used the bproc.sampler.part_sphere which uses only the upper half of the sphere cut along the x-axis (defined by part_sphere_vector).
The center of the sphere is moved in z-direction and camera positions are sampled from the upper hemisphere to ensure that their view is not “below” the object, which is specifically important for tables.
Each camera rotation is computed to look directly at a sampled point of interest POI of the object, and the camera faces upwards in Z direction.